Webhooks
Webhooks allow you to get all information about your deliverability almost in real time. They help integrate Mailtrap more deeply into your system or app. And there’s no need to request information; you just get it.
The event data you receive includes:
- Delivery
- Bounce
- Unsubscribe
- Spam Complaint
- Reject
- Soft Bounce
- Suspension
- Open
- Click
To find out more about the event specifics, check the Statuses and Events article.
How to set up webhooks
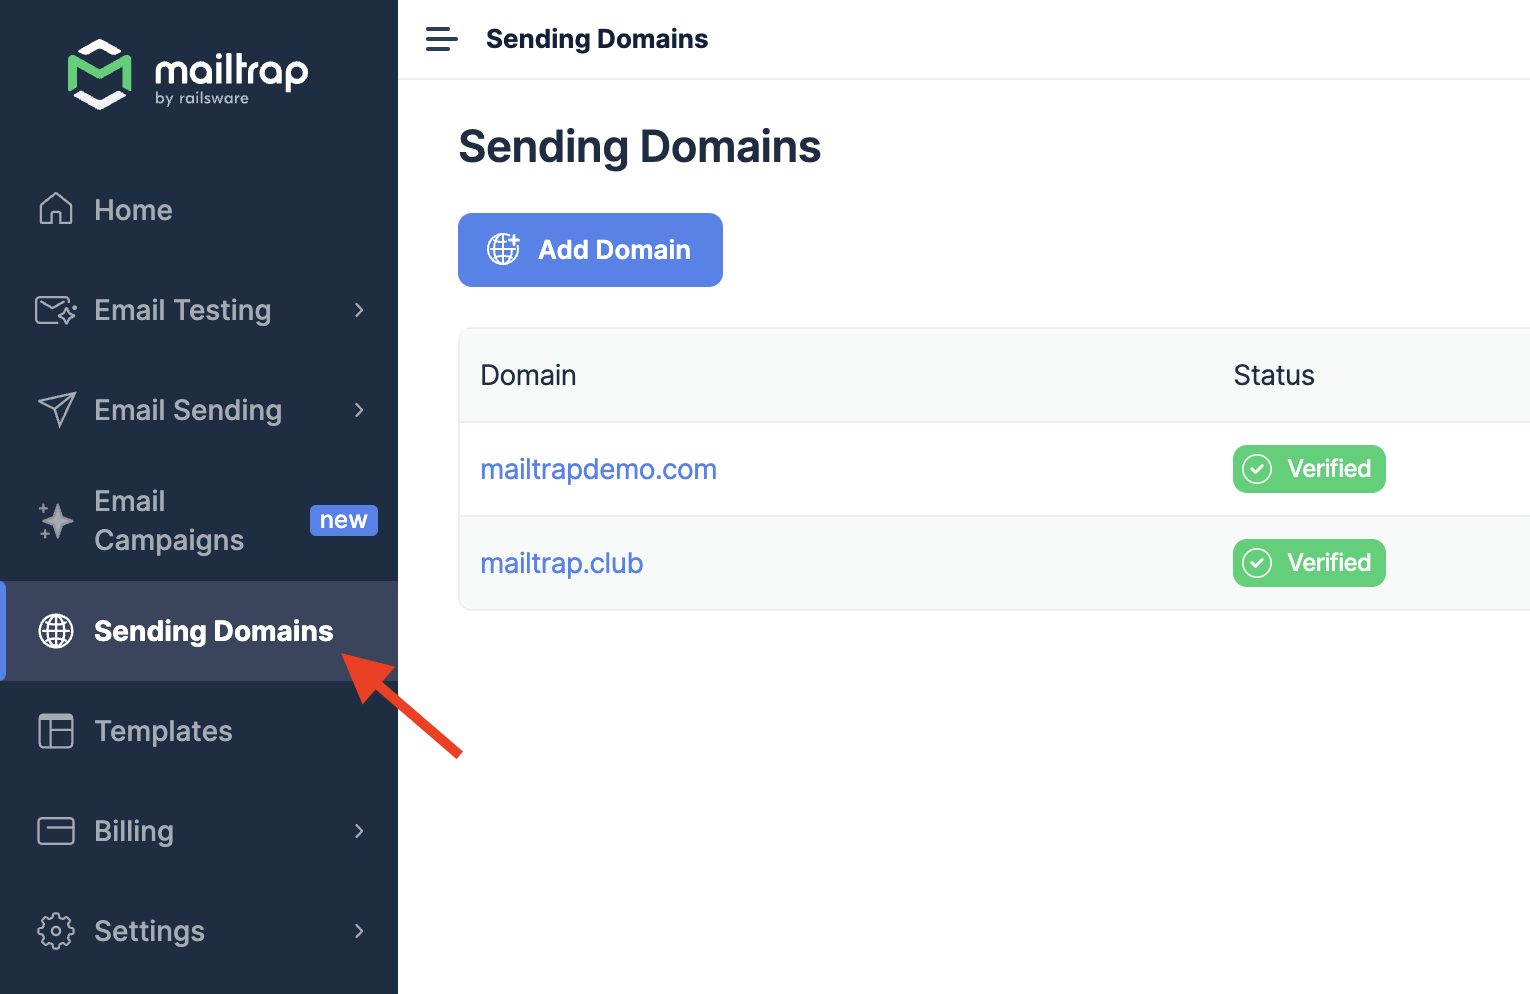
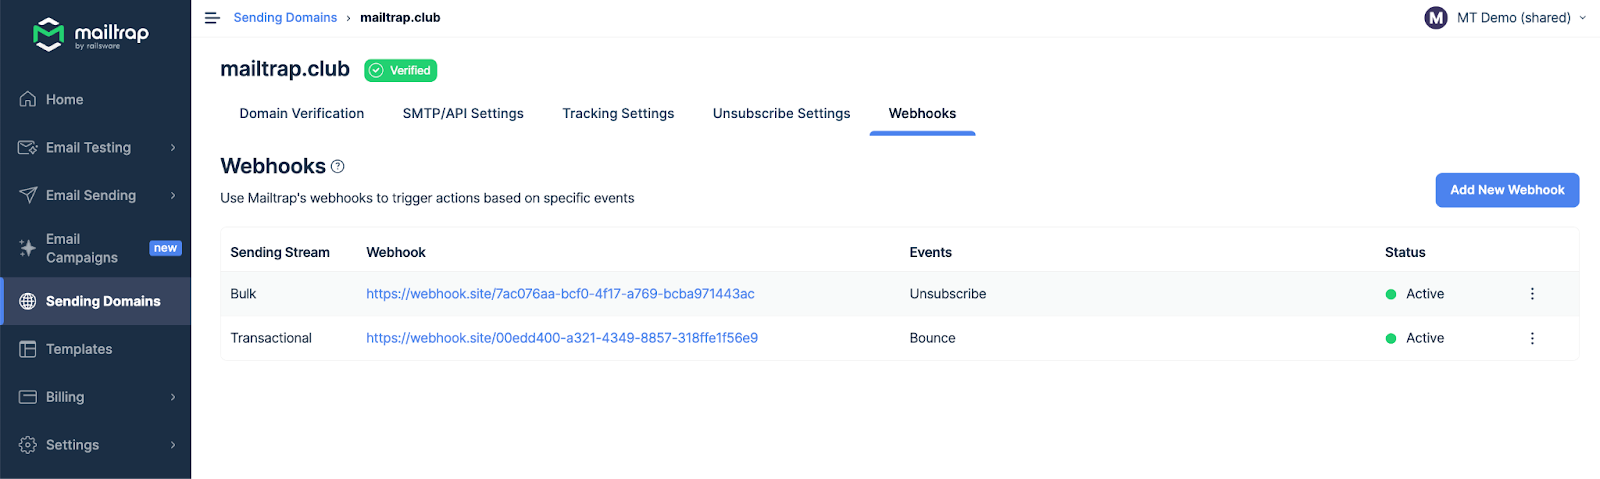
- Navigate to Sending Domains.
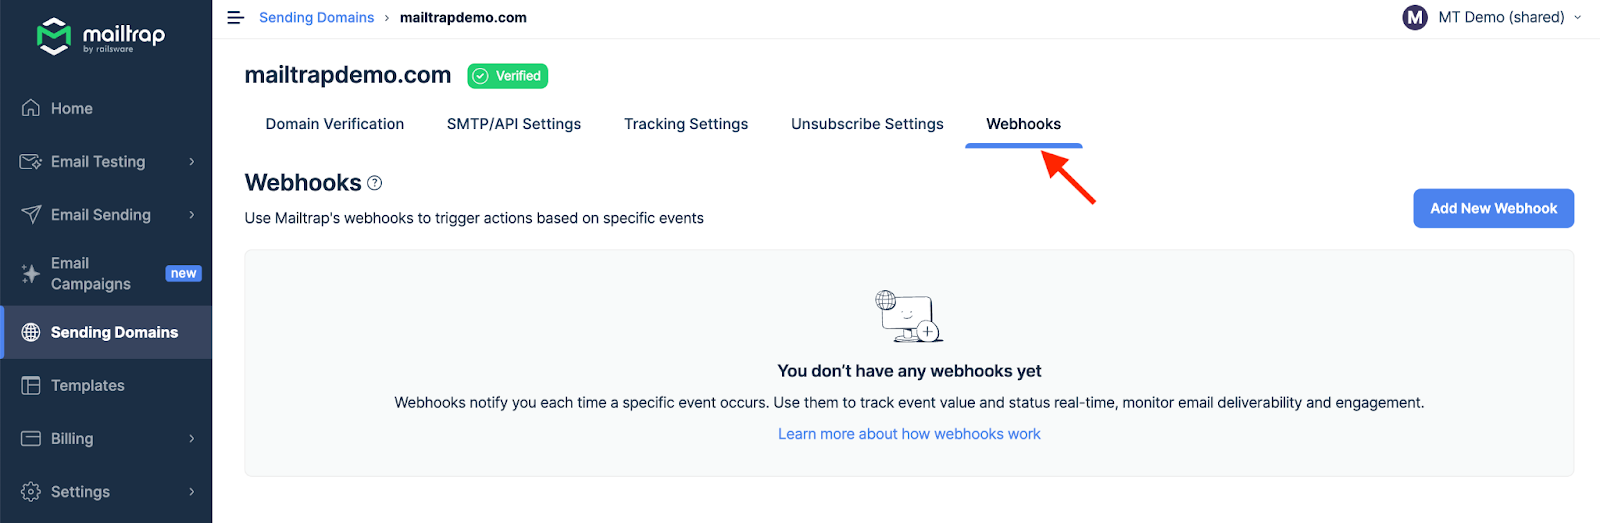
- Choose the domain you want to receive events’ data for and click the Webhooks tab.
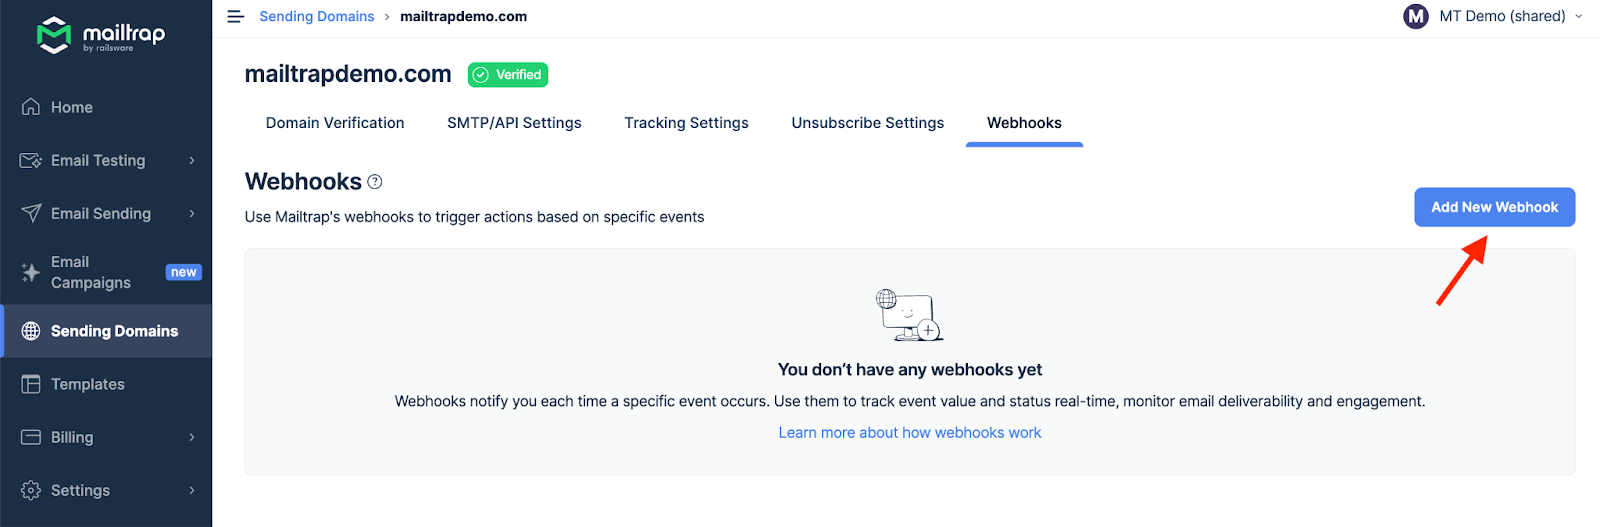
- Click the Add New Webhook button.
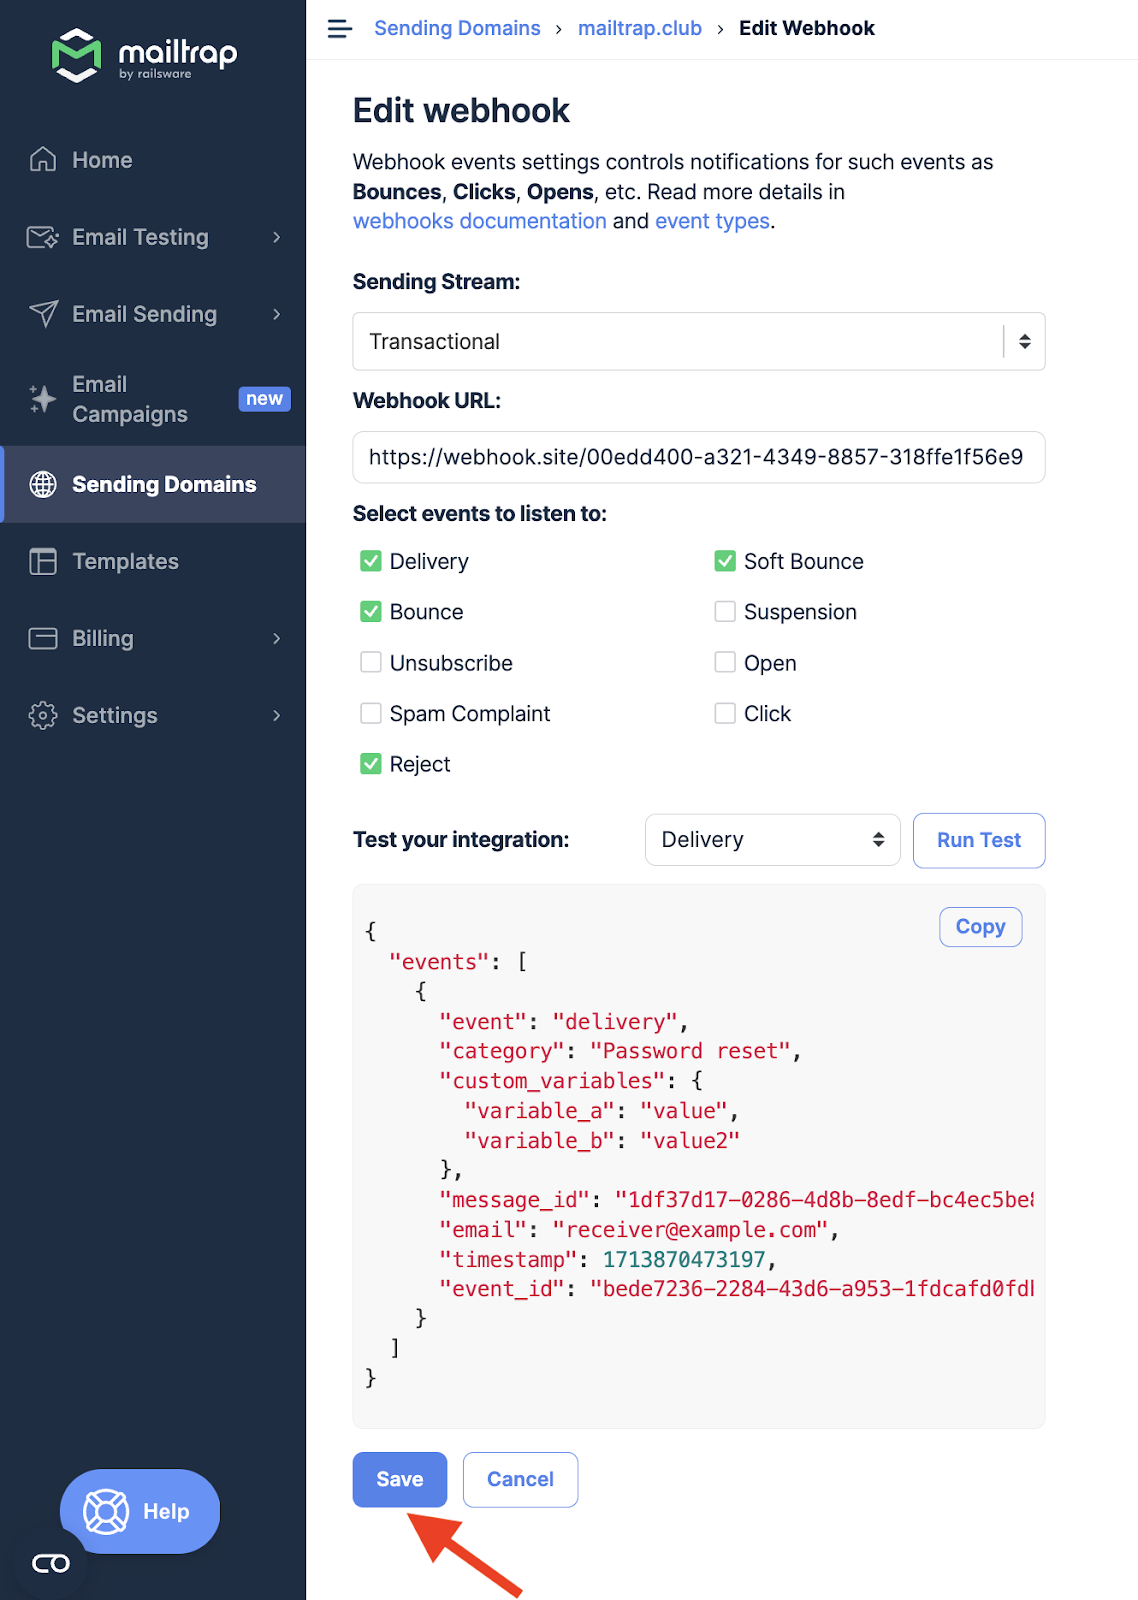
- Choose the Sending Stream (Transactional or Bulk) for which you want to set up the webhooks. Reminder: Transactional Stream is used to send non-promotional, triggered emails to one recipient at a time, while Bulk Stream is used to send promotional emails to multiple recipients at once.
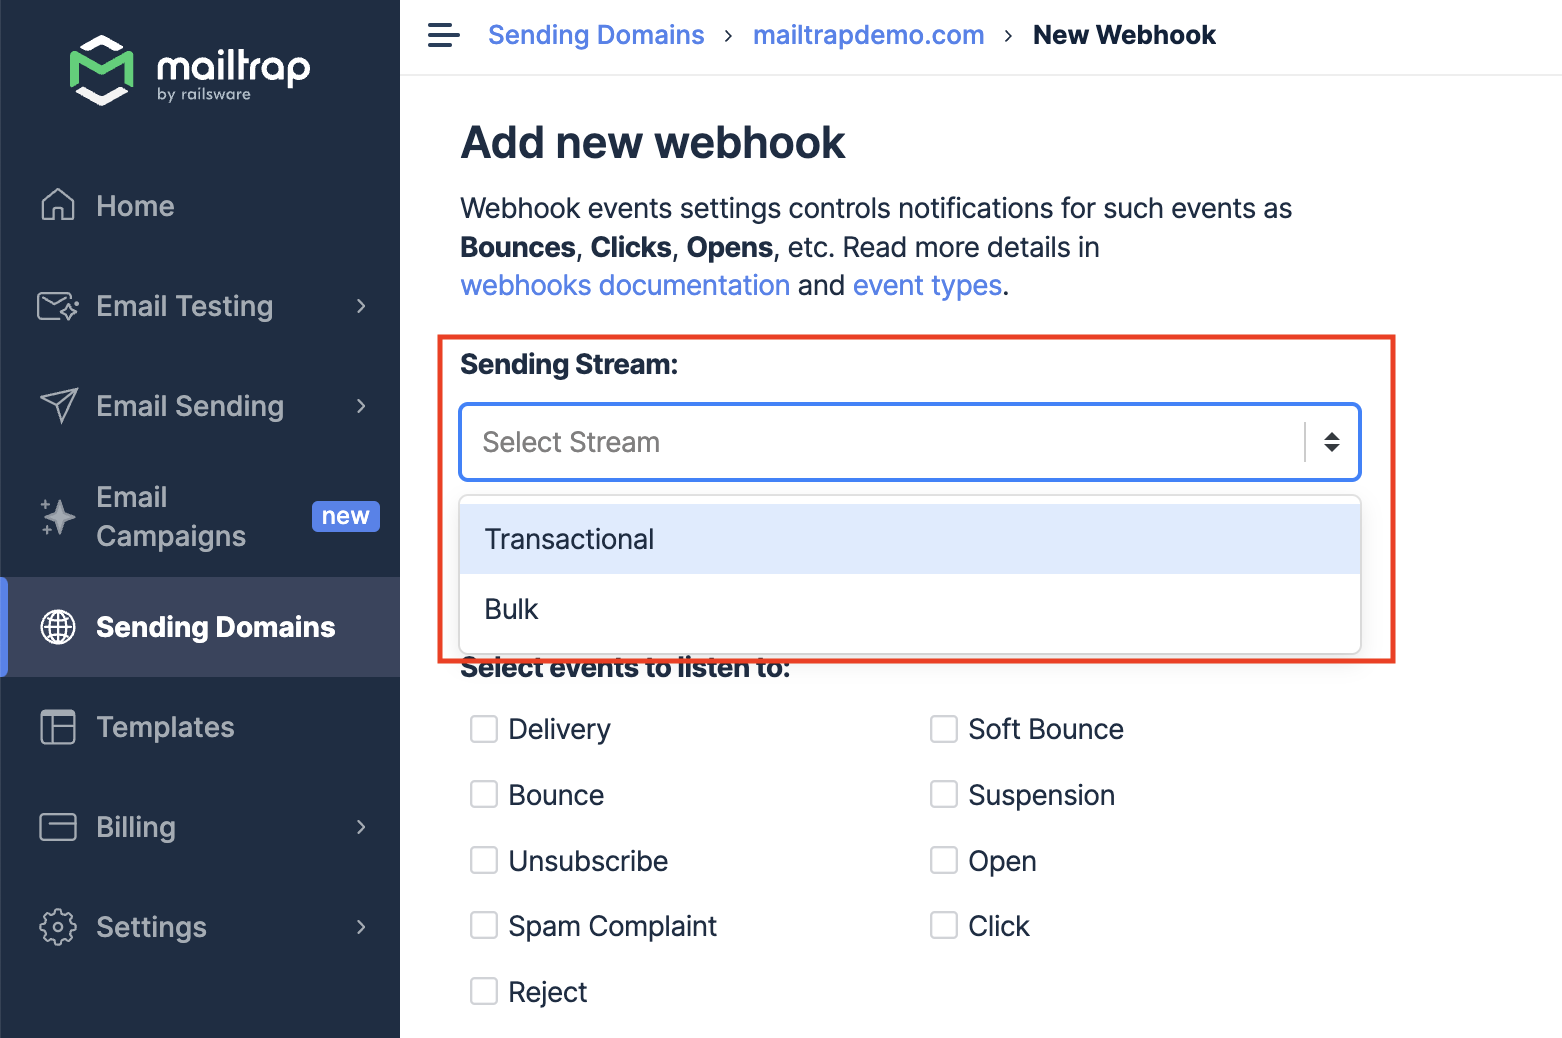
- You can create separate webhooks for each Sending Stream.
- Enter a valid URL. Use a password and username as an extra security layer. It’s a basic authorization that prevents others from sending information to that endpoint. You can also use a token as a query parameter.

- Select one or more event types by ticking the corresponding box.

- Click the Run Test button to use the ready-made code to test the webhook setup. The code represents a dummy payload of the webhook structure and how to read it correctly. If your endpoint responds correctly (200 code), you’ll see a confirmation in the app. All other response codes show an error during a test.
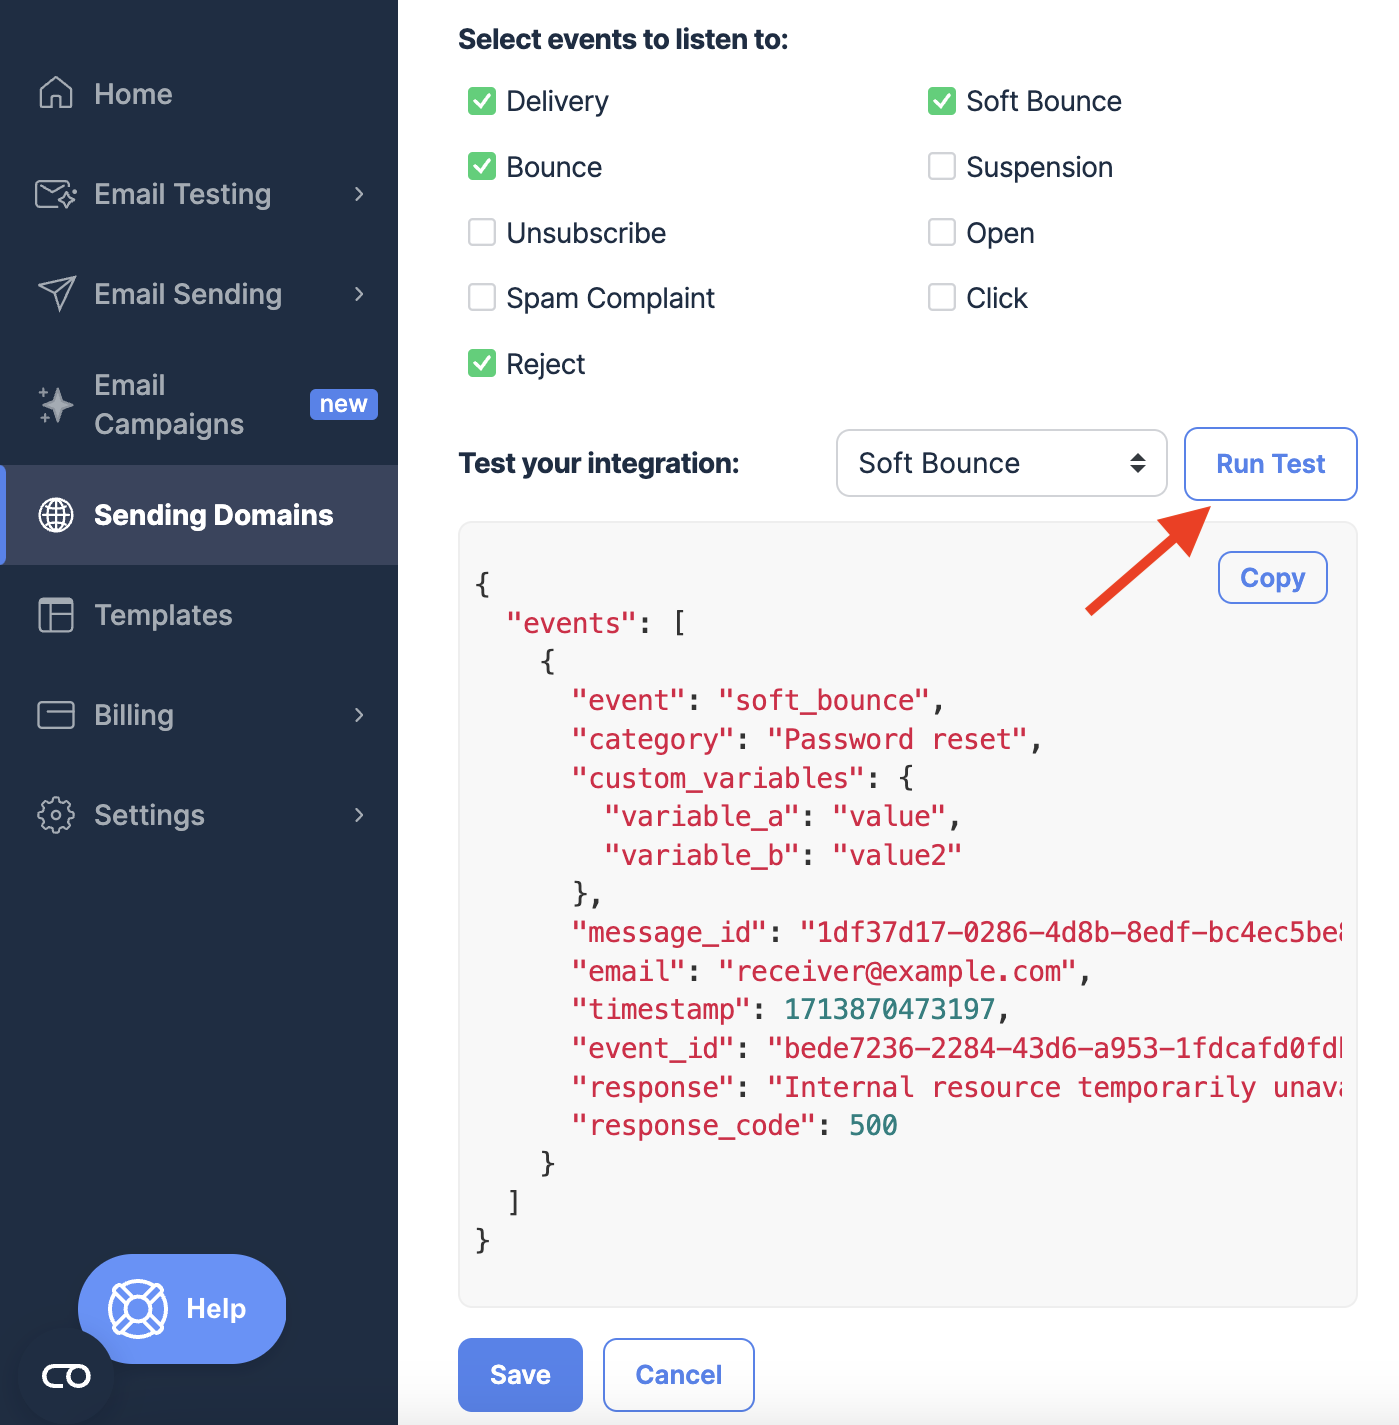
- One popular way to test webhooks outside your system is Webhook.site, but don’t leave it for production.
- If the tests are successful, click the Save button. All info will be sent to your webhook endpoint.
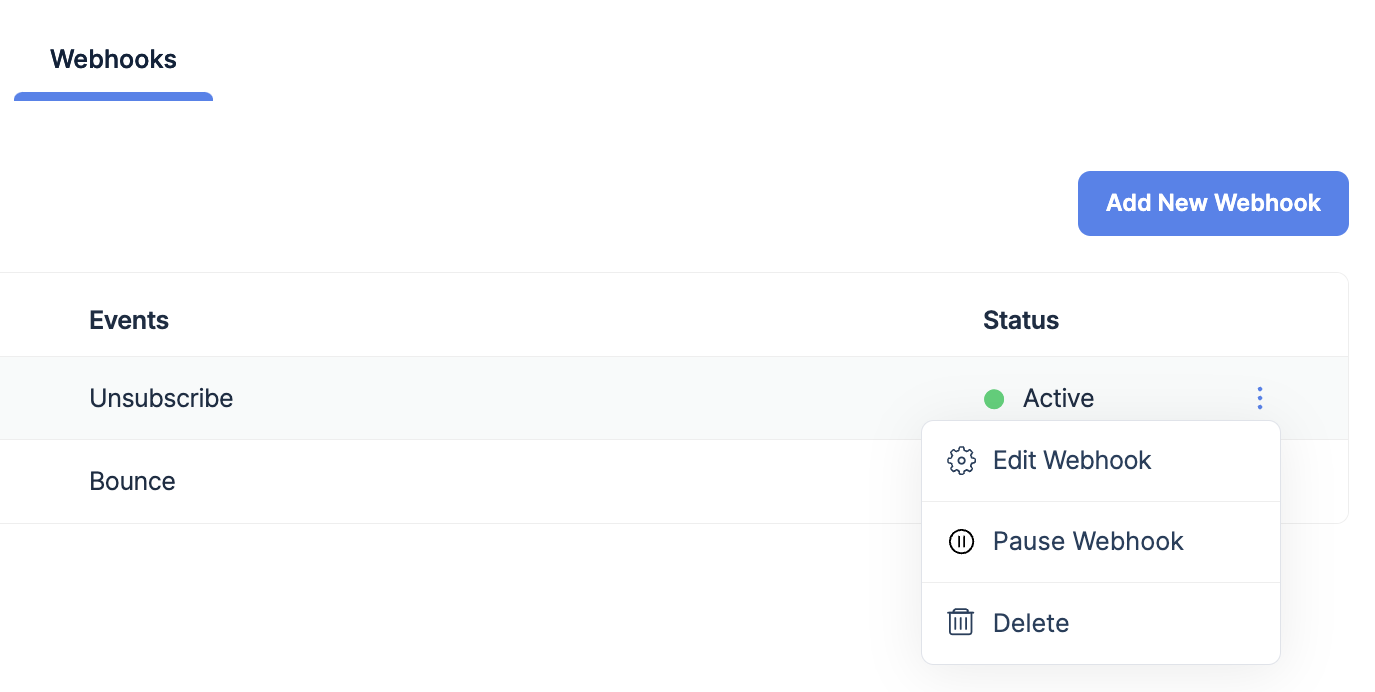
- Go back to the Webhooks tab if you want to edit, pause, or delete an active webhook.
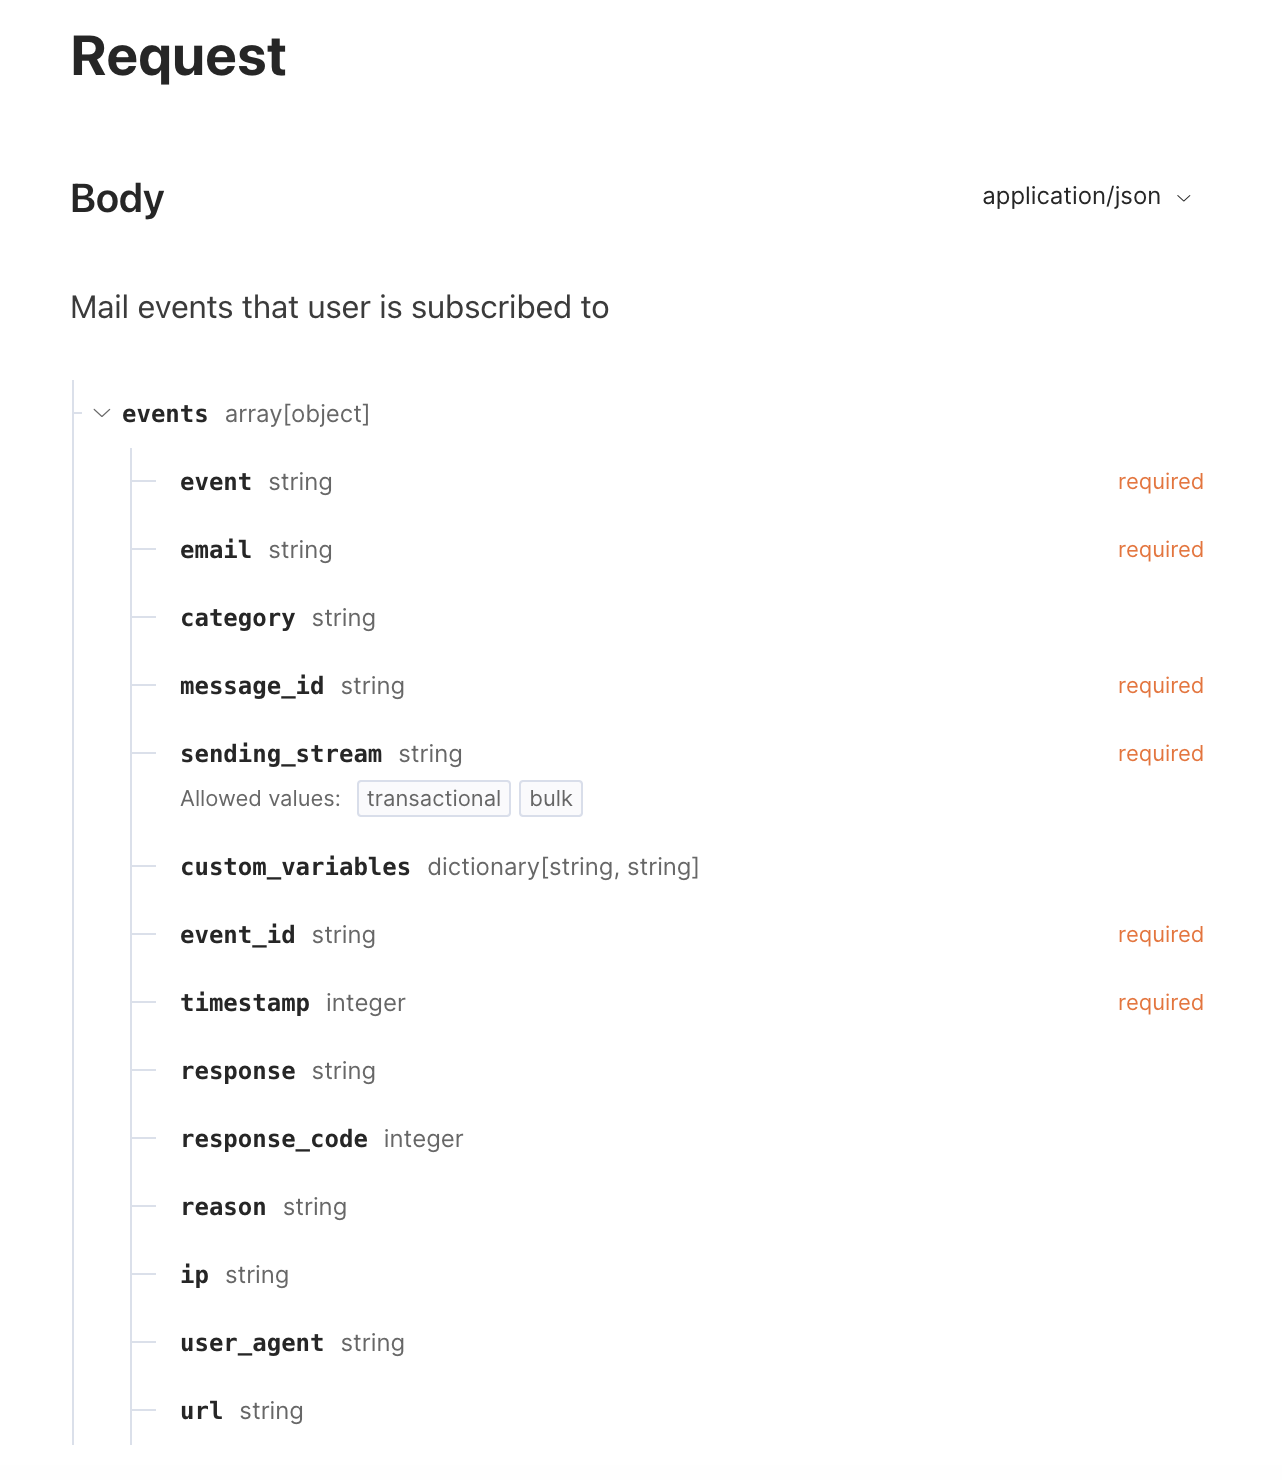
Events structure and message ID
All the stats are built on the events, and you get most of the event information from Mailtrap UI. The Webhook structure is available in our API docs, and you’ll be able to see the event:
- Category
- Custom variables
- Message ID*
- Sending Stream
- Event ID
- Response
*As you send an email via Mailtrap, both SMTP & API respond with that ID so your system can record it and match all other events, as Webhooks also have that ID.
With SMTP, the response is as follows:
- Ok: queued as <message ID> - if there’s one user
- Ok: queued as <first message ID> and 2 more - if there are multiple users
With API, the response is:
- {success: true, message_ids: [array,of,message,ids]}
Retry schedule and batches
Retry schedule
If your endpoint is down and doesn’t respond with 200OK, we'll retry multiple times. The scheduling logic is as follows:
- Retry - 40 retries every 5 minutes. The webhook will be considered failed if we don’t receive 200OK with all retries. If the webhook fails, we’ll pause it and notify you by email. You’ll need to check its settings and resume it manually.
- Timeout - 30 seconds. If your endpoint doesn’t respond within that time, the webhook event batch will go to the retry schedule.
Batches
You have the option to send webhooks in batches—the information we send can be grouped within one object.
For example, you can group up to 500 events and send them as a batch. The benefit is that you don’t need to make 500 requests to us, and there’s less computing on your side. This is very beneficial for high-volume senders.
In an array of events, we collect and batch events every 30 seconds. After that time, everything that was grouped will be sent to you. Also, we create the webhook URL and support TSL 1.2, which we strongly recommend you use.